Overview
This tutorial will teach you how to implement a push button that turns on an LED with two smorgasboards on different ports.
Components
Arduino
A/B USB cable
Museduino Shield
2 Museduino Smorgasboards
2 CAT5 cables
LED
10k resistor
button
screwdriver
Setup
First, follow the setup for the LED Tutorial.
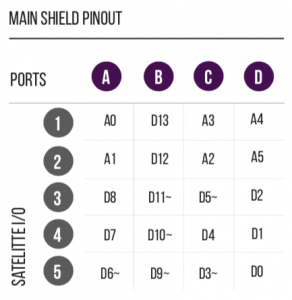
After you’ve completed the setup, locate Digital Pin 4 using the Satellite I/O chart.

The Pin Configuration chart shows that Digital Pin 4 is Satellite I/O pin 4 on Port C. Satellite I/O pin 4 has the following pin configuration:
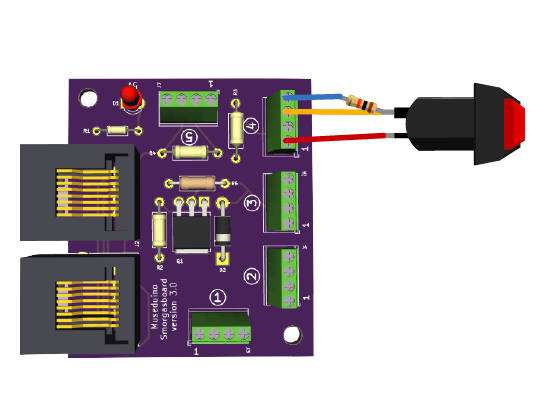
1 – Power
2 – Signal + Resistor in Series
3 – Direct Signal
4 – Ground
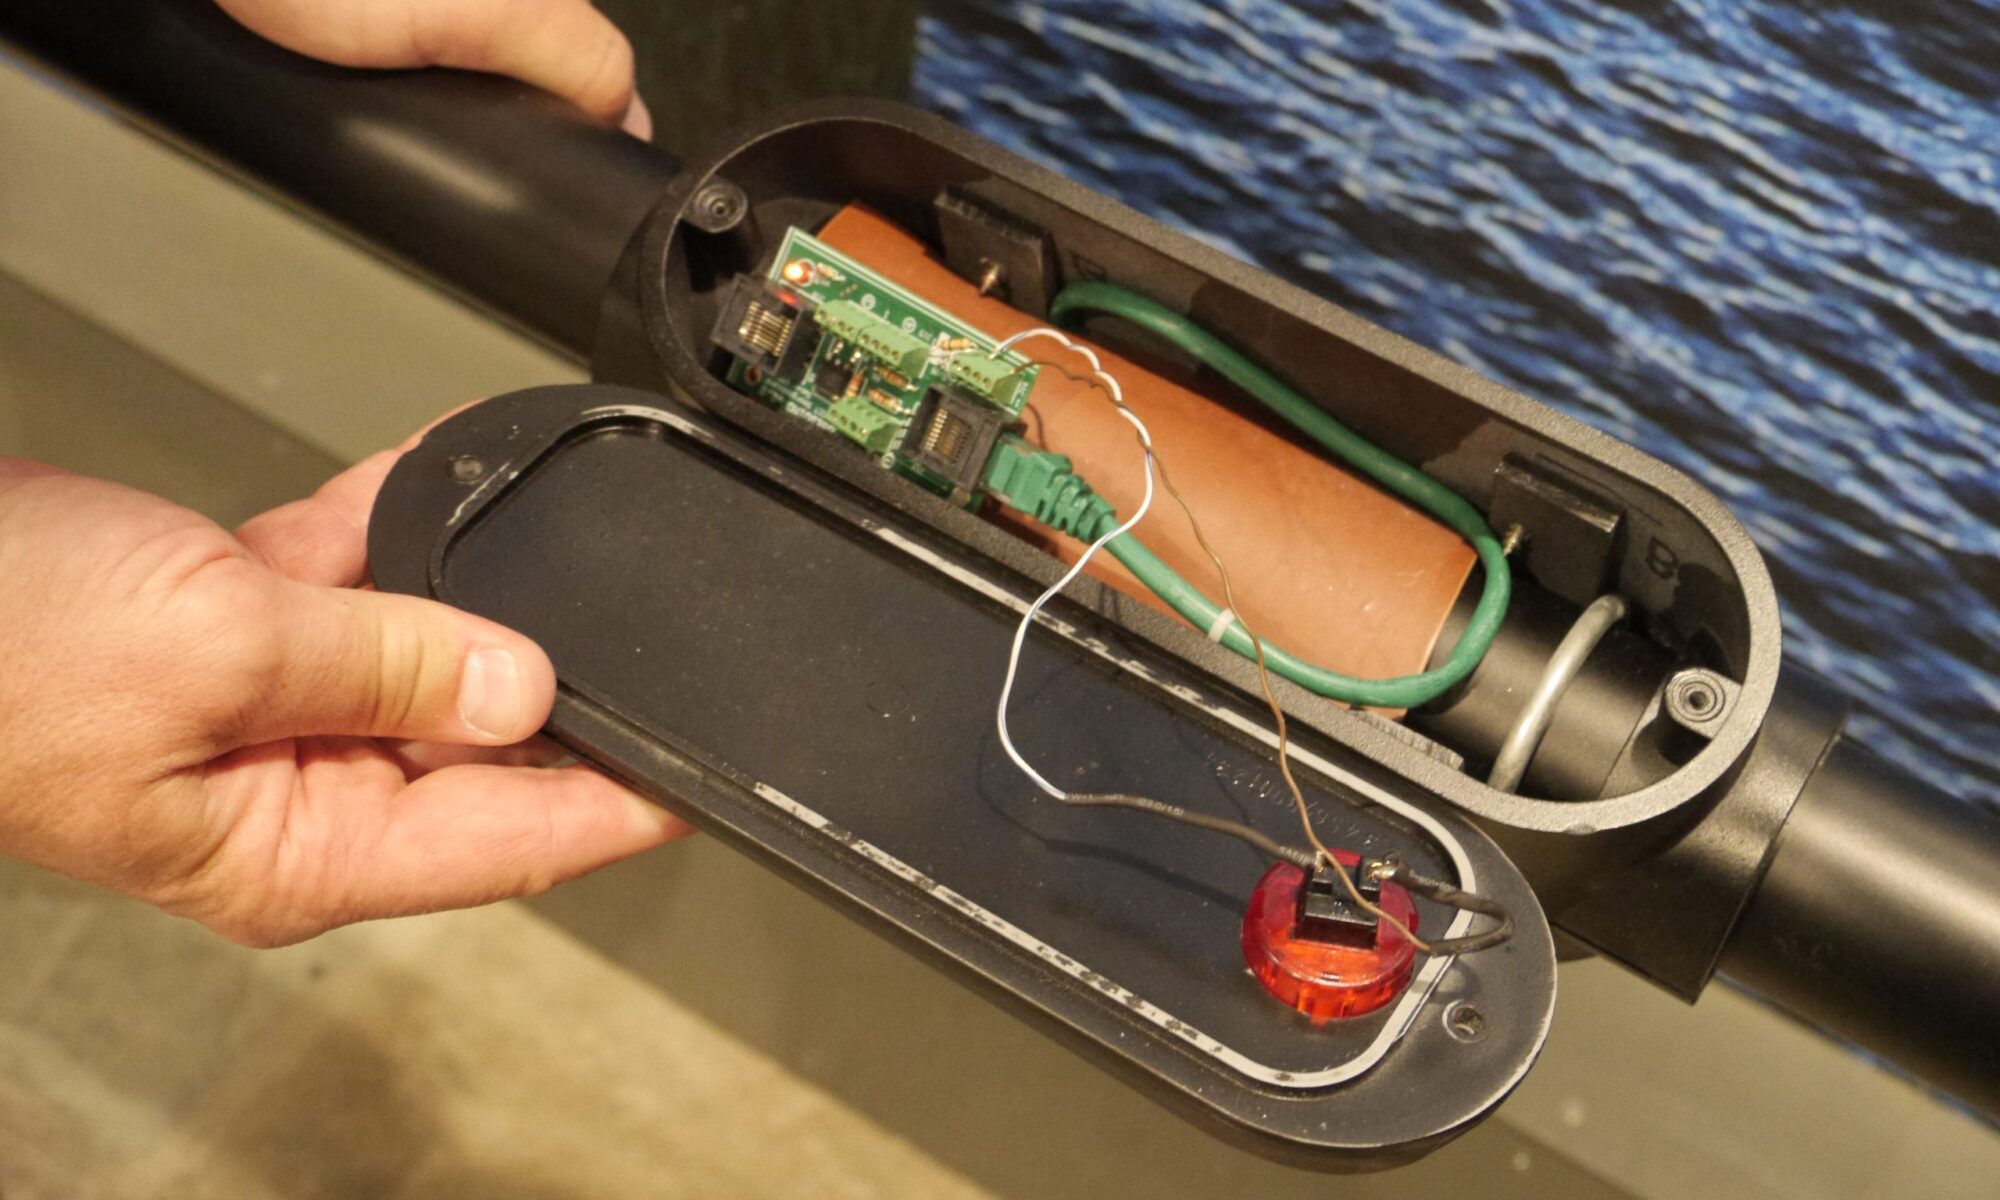
Now hook up a button to Satellite I/O 4. Use Power (screw terminal pin 1), signal (screw terminal pin 3), and a 10k resistor between signal (screw terminal pin 3) and ground (screw terminal pin 4). Use a screwdriver to loosen/tighten the screw terminals.

Now connect the Smorgasboard to Port C on the main shield.
Code
Copy code below or download from Github. Once the sketch has been successfully uploaded, push the button to turn on the led.
/*
  Museduino | Button Tutorial
  Button turns on LED when pushed
*/

// Digital Pin 6 on Satellite Pin 5 via Port A
int s5A = 6;
// Digital Pin 4 on Satellite Pin 4 via Port C
int s4C = 4;

// variables
int buttonState = 0; // variable for reading the button status

// the setup routine runs once:
void setup() {
  // initialize the led pin as an output
  pinMode(s5A, OUTPUT);
  // initialize the button pin as an input
  pinMode(s4C, INPUT);

}

// the loop routine runs over and over again forever:
void loop() {

  // read the state of the button value:
  buttonState = digitalRead(s4C);

  // check if the button is pushed
  // if it is, the buttonState is LOW:
  if (buttonState == LOW) {
    // turn LED on:
    digitalWrite(s5A, HIGH);
  }
  else {
      // turn LED off:
      digitalWrite(s5A, LOW);
  }

}
Want to use Servo Motors with Museduino?

